
In this blog post, we will be discussing How To Make and Use A Dispenser In Minecraft. We will go over the materials needed and the steps to take in order to make a dispenser.
How To Make A Dispenser Video Tutorial
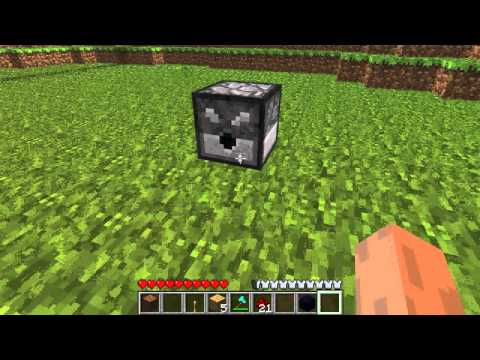
In Minecraft, a Dispenser is a powered gadget that can store and distribute goods. It is a necessary tool for redstone contraptions and mechanized farms.
This video tutorial will walk you through the steps of creating and utilizing a Dispenser in Minecraft. The lesson will begin by demonstrating how to obtain the resources required to create the dispenser, which will include a bucket, redstone dust, and the proper crafting guide. It will then show how to make the dispenser out of wood planks and how to mount it on a wall or floor block so that it may be utilized.
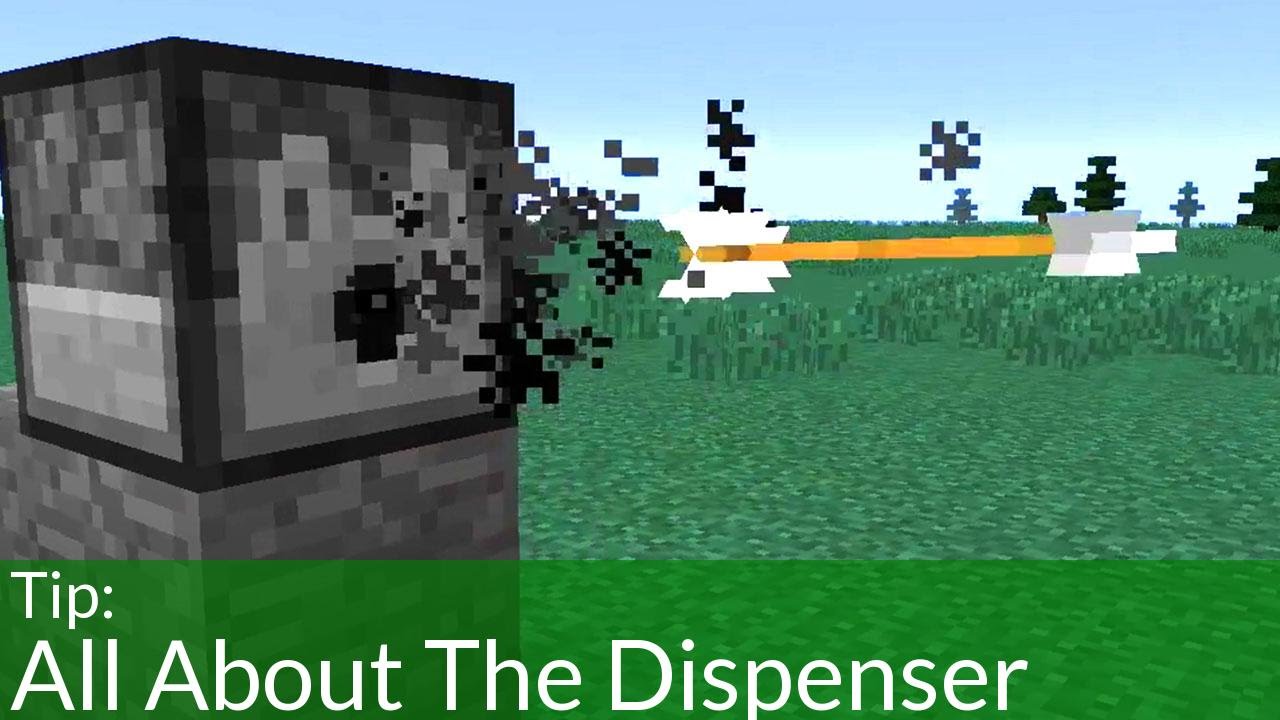
Following that, viewers will learn how to build up its inventory by inserting objects such as arrows, potions, and food into the spaces inside it. The lesson concludes by instructing viewers on how to use a Dispenser for more effective farming setups as well as more imaginative solutions for redstone contraptions such as traps or hidden entrances.
Available Platforms
In Minecraft, you may create and use a dispenser on PC, Mac, PlayStation 4, Xbox One, and Nintendo Switch. In-game, players may use a dispenser to store goods such as arrows or food and then fire them at creatures or other players. Dispeners may also be used to hold potions and other things that have special effects when fired.
On PS4 or Xbox One, combine a Bow with Redstone Dust, a Wooden Plank, Cobblestone, or Iron Ingots, and Gunpowder to make Dispeners. Once created, the dispenser may be readily put in any environment to function as a storage unit for certain goods desired by the user.
Materials Needed To Make A Dispenser
A Dispenser is an object in Minecraft that may be used to shoot goods out of its front. To construct a Dispenser, players will use the following materials:
- 7 cobblestones
- 1 bow
- 1 redstone
You should have one Crafting Table and one Furnace accessible for usage before removing these goods from your inventory. Arrange the Crafting Table in front of you first, and then place the 7 Cobblestones onto the crafting grid as shown:
- 1 cobblestone in each slot on the top row
- 3 cobblestones in each slot in the middle row
- 2 cobblestones in each slot on the bottom row
This will result in a square with a diagonal line connecting the top left and bottom right corners. Then, in the crafting grid, add a Bow in the top middle box and a Redstone in the bottom middle slot. This will result in the creation of your Dispenser, which can then be placed on any solid block in your environment.
To activate it, press either the right mouse button or the left trigger, depending on the platform, to access the interface where you may add goods or fuel if appropriate. When ignited by redstone, it will then shoot whatever it holds.
Steps To Make A Dispenser
Making a dispenser in Minecraft is an excellent method to swiftly store and retrieve things. You’ll need seven cobblestone blocks, one bow, and one redstone dust to make one.
- First, grab six cobblestone blocks from your surroundings with your pickaxe, then create the last block using two cobblestones from your crafting grid.
- Next, arrange the six cobblestones in a 3×2 rectangle on the ground. Place the seventh block at one end to shut off what will be the dispenser’s front.
- Make a redstone torch using your bow and redstone dust and connect it to the rear wall of your dispenser.
- Finally, right-click on the redstone torch to activate it, making sure that it is facing away from you since this signals that it is turned on.
And there you have it; a functional dispenser.
Step 1. Open Your Crafting Menu
The first step in building and utilizing a dispenser in Minecraft is to access the crafting menu. Press the E key on your keyboard or choose the Crafting Table symbol from your inventory to do so. The crafting menu should then appear, displaying a grid with nine squares. This is where you’ll put everything you’ll need to make your dispenser.
To begin, lay a single cobblestone block in the first square in the bottom left-hand corner of the crafting grid. Once this is completed, you may proceed to add all of the other materials required. These comprise seven redstone pieces and one bow in each square until they are all filled. When this is finished and all ingredients have been correctly inserted, your dispenser should appear.
Step 2. Add The Items To The Menu
During this stage, players add things to the Hopper’s menu. To begin, users choose a block from their hotbar and then right-click on the bottom-most slot in one of the two menu boxes. This adds the block to the hopper’s inventory. Players may add as many things to this menu as they like. ↑Shift-right click↑ on a slot in the menu box to delete it and create room for additional items.
If a player has previously made an item and wishes to add it from their inventory, they may do so by ←left-clicking← on it in their hotbar and then right-clicking on an empty space in one of the two menus. Before moving on to step 3, players need ensure that all four spaces are filled with blocks.
Step 3. Move The Dispenser To Your Inventory
The third step of the item frame video tutorial focuses on adding the Dispenser to your Minecraft inventory. Simply right-click it and drag it into your inventory to do this. After that, you’ll be able to utilize the dispenser for things like shooting arrows or eggs.
After you’ve put the Dispenser in your inventory, you’ll need to create an Item Frame for it to sit on. This is accomplished by combining seven iron ingots and one hardwood plank of any sort into a Crafting Table and selecting the item frame recipe. When you’re through creating the item frame, just set it on a block in the location you choose.
After that, your item frame is ready to be used as a dispenser. Simply right-click it and choose any of the objects within that you wish to shoot out of it, such as arrows or eggs. The item frames may now be used as a dispenser.
Minecraft Dispenser Command
In Minecraft, the dispenser command lets users to build a block that may distribute things. This may be a handy tool for making custom farms, dispensing bespoke treasure, or even putting up traps. The dispenser command is applicable to any blocks, including furnaces, chests, and other containers.
The command itself is simple to use. Simply enter /give p minecraft:dispenser into the chat box, and a dispenser will appear in front of the player. Once placed, the player may modify its parameters, such as the kind of item distributed and the number of things accessible, by right-clicking on the block with an empty hand. After completing all required settings, the player may interact with the block again to fill it with things. When you’re ready to use it, just press the trigger button adjacent to it, and it’ll start dispensing goods from its inventory as you’ve programmed.
Java Edition 1.13 and higher dispenser command
In Minecraft Java Edition 1.13 and above, the dispenser command lets you to build a dispenser that will discharge objects like as arrows, potions, or blocks when triggered by a redstone signal or by directly activating the dispenser. You will need the following supplies to complete this task: a dispenser and either a redstone signal, button, or pressure plate.
You may then use the command /give p minecraft:dispenser to activate it. This will get you access to the dispenser item in Minecraft.
With your dispenser in one hand and the trigger item redstone signal, button, or pressure plate in the other, execute this command to combine them: /setblock minecraft:dispenser facing=east replace east with the direction you want. This will result in a functional dispenser with your desired direction at your feet.
Simply write /fill minecraft:down<item> to fill it with the objects of your choosing. Replace <item> with the item you wish to discharge from the dispenser, for example, an arrow.
PE – Xbox One – Switch – Win 10 – Education Edition
This category refers to the many versions of the game Minecraft that may be used to create and utilize an Item Frame.
- Minecraft PE, Xbox One, Switch, Windows 10, and Education Edition are all distinct versions of the famous video game that enable players to create and utilize an Item Frame.
An Item Frame is a Minecraft block that is used to showcase objects or blocks as decorative art. They are typically used for maps and other objects that may be hung, such as flags, shulkers boxes, and fossils.
Crafting an Item Frame on the Xbox One, Switch, or Windows 10 version of the game takes one leather and eight sticks. Leather may be obtained by slaughtering cows, while sticks can be obtained by mining trees. Instead of leather and sticks, an item frame may be created using a furnace for Minecraft PE/Educational Edition users.
Once the item frame has been built, just approach it and hit ‘A’ Xbox One, ‘X’ Switch, or ‘E’ PE/Education. Simply hit ‘Y’ and then click on the object included inside the frame to delete it.
More Basic Recipes
More In Minecraft, basic recipes for employing a dispenser include arrows, potions, spawn eggs, snowballs, and eggs. Players may also utilize the dispenser to make explosions by utilizing commodities such as Redstone and Gunpowder. Players may turn the dispenser into a power source by placing water buckets and Magma bricks inside. The dispenser has a variety of applications that might make it a useful tool in any player’s arsenal.
Other products, such as Firework Rockets and Lava Buckets, are used in certain sophisticated recipes to generate effects such as sparks or fire, depending on what you want the dispenser to do. As you can see, the dispenser is rather adaptable when it comes to Minecraft construction.
More Stories
Minecraft Slope Unblocked: The Complete Guide to Playing Anywhere in 2026
How to Build Epic Minecraft Skyscrapers: Design, Tips, and Techniques for 2026
How To Build An Epic Spruce House In Minecraft: The Complete 2026 Design Guide